
What’s in Our Students’ Bags: Sketching Kit Tips from the PLUS Community
- Blog
- November 12, 2026
- 44 mins
Ask our students what’s in their sketching bags and you’ll hear about makeup rolls, a stool with a handbag strap, bulldog clips for windy days and, more than once, a collapsible dog bowl.
None of that came from us. It came from the PLUS group, where someone asks about paper or pens or what to pack for a trip, and within the hour there are replies from people who’ve tried it, bought the wrong thing, found something cheaper or worked out a trick nobody told them about.
So we went back through years of those conversations and pulled out the tips that came up again and again.
One thing to say first. These are our students’ finds, not our official recommendations. We haven’t tested every product here, and what works for one sketcher won’t suit everyone.
If you want the kit Ian actually uses and recommends for our courses, that’s all in our urban sketching kit guide. Think of this post as the bit that comes after: the alternatives, the workarounds and the lessons learned the hard way.

Paper: the upgrade students talk about most
If there’s one thing students say made the biggest difference, it’s paper. Lots of them say switching to Ian’s Fabriano changed everything.
"The change made a huge difference."
– Student Patricia F
But good paper isn’t cheap, and not everyone can get hold of it easily, so students have found plenty of alternatives they’re happy with.
When you can’t get Fabriano.
Sometimes our students arent able to access Ian’s trusty Fabriano Fat Pad in their Location. Suzanne M switched to St Cuthberts Mill botanical hot press on a trip and said it “worked very well”. She also likes the RKB Fat Pad botanical ultrasmooth, which she finds close to Fabriano Classico. Cheryl M uses Saunders Waterford blocks.
Budget pads for practice. Pam R and Claudia S both use Winsor & Newton mixed media pads and hot press blocks. Jeff H finds Aquafine reasonably priced, and Sharon L picks up Master’s Touch mixed media in the US when it’s on sale.
Sketchbooks. Stephen W works in Kilimanjaro sketchbooks, from the travel size up to 9×12, and Michael F uses an A3 Hahnemühle hot press book. Suzanne M loves Canson mixed media for ink, and Beth W rates it too.
A couple of students have gone further and made their own. Beth W builds sketchbooks from smooth white cover stock, which she says is “loads cheaper”. Amy S bound her own from Fabriano hot press sheets.
Hot press or cold press?
This comes up a lot, and students mostly land in the same place. Cold press has more texture, which can make pens skip and brush pens go streaky. Hot press is smoother and friendlier for line and tone work.
Patty E’s advice is a good way to approach it: pick hot or cold press first, then try different brands, then different weights. Heavier paper copes better with lots of water. And Stephen W’s rule of thumb:
"Stick with 100% cotton if at all possible."
– Student Stephen W
If you’re still weighing it up, our guide on how to choose the right watercolour paper goes through it in more detail.
A few paper tricks
- Tape tearing your paper? Suzanne M warms the tape with a hairdryer before peeling it off.
- Paper buckled? Joanie C dries it with a hairdryer, sprays the back lightly and weighs it down under some books.
- Nervous about wasting good paper on colour? Lesley C photographs her drawing, prints it onto watercolour paper and practises the colour on the copies first.
Storage: why makeup bags beat art bags
This one surprised us. Several students worked it out separately, and they all came to the same conclusion: the best sketching bag often isn’t sold as an art bag at all.
Lori B put it best. She went looking for a proper artist’s roll and came away disappointed:
"Similar products I found geared toward artists were expensive, cheaply made, or lacking a pocket. I found this makeup roll, and it even fits my watercolor palette."
– Student Lori B
Hers has a row of clear slots for fineliners, brush pens and brushes, with a zip pocket along the bottom where her palette lives.
Sharon R came to the same conclusion when she spent her Member of the Month prize on this bag:
"The bag is actually a stationery/makeup bag, but when I saw it I knew it was just the thing to hold all my sketching supplies in a compact manner. Also it stands up so that supplies don't go falling all over the place when I sit and sketch, as they do in an ordinary bag."
– Student Sharon R
Marion P gave up on her pen roll altogether and switched to a pencil bag with velcro sleeves inside, big enough to hold her paint box too. Her tip: choose brushes with shorter handles so everything fits.
And if you’re handy with a sewing machine, you can make one that fits your kit exactly. When the weather kept Kristin L indoors, she put the time to good use:
"I decided to make a little supply pouch so I wouldn't just be throwing all my things into a tote bag."
– Student Kristin L
Hers has slots for her brushes, brush pens and fineliners, plus a zip pocket, and it rolls up and ties neatly.
It’s come up so often that it’s become a bit of a running theme in the group. Makeup bags and brush wraps tend to be cheaper, have better pockets, and are made to be carried around.
If you’d rather have something built for the job, Carol R and Suzanne M both use Etchr bags. Suzanne M’s holds her travel brushes, brush pens, fineliners, a small spray bottle and a collapsible water pot.
If you work big, a backpack might suit you better. Andrea K found one with room for an A3 sketchbook, plenty of pockets and a comfortable padded back, and everything she needs fits inside. On her first trip out with it, it was windy and not the comfiest day for sketching, but she still came home relaxed and happy.
Small tips that save a lot of faff
- Label the pen, not the cap. Stephen R mixed up his caps once too often, so now he labels the barrel itself.
- Keep a wipe handy. Carolyn G keeps a clean sponge or bit of kitchen roll on the table and dabs her pen tip on it to stop it clogging.
- Keep an eye out for tins. Patty E is always on the lookout, and that’s how she found her perfect palette setup.
- Working from a photo on your phone? Andonette W found the cheapest phone stands too flimsy and says it’s worth getting a sturdy one.
Travel kit: pack less than you think
The students who sketch on location most often agree on one thing. You need far less than you’d expect.
Suzanne M points out that on location you’re mostly getting the outline down, so the essentials are paper, pen, pencil and an eraser. Colour can often wait until you’re back home.
Rick D has the best method for working out what to bring. Go out, notice what you actually use, and leave the rest at home next time. As he says, “It’s the same for long backpacking trips.”
A few other tips from students who’ve been there:
- Take bigger paper than you think. Suzanne M takes A3, because you can always tape it off to make it smaller, but you can’t make it bigger.
- Keep it small enough for a handbag. Cathryn A carries a light travel palette, two travel brushes and a small sketchbook, and the lot fits in her handbag.
- Travel brushes with covers. Mike M recommends double-ended travel brushes with screw-on covers for outdoor painting.
And one of our favourite student hacks: collapsible dog bowls make brilliant water pots. They fold flat in your bag, pop open in seconds and hold plenty of water.
Annette M added two more essentials when this came up in the group:
"I would add a little spray bottle with water to wet the watercolour pans so they are soft and happier to play! Also if you are working outside then pegs or bulldog clips to hold your paper down on a breezy day."
– Student Annette M
Seating: what retreat regulars swear by
What to sit on comes up all the time, especially from students getting ready for their first retreat. And ask anyone who’s already been on one, and it’s usually the first thing they mention.
"Biggest thing is to bring a comfortable stool you are comfortable carrying on a 10 minute walk."
– Student Suzanne M
After a few retreats, here’s what we’ve seen work.
- Compact folding chairs with a back. Lots of students, Pam R included, bring chairs like these. They fold down really small and are easy to put up, so they’re great if you’re travelling a long way or flying. They’ll fit in your suitcase.
- Folding stools. The team bring stools like these to retreats as backup seats. With no back they’re less supportive than a chair, but they fold down tiny and come with a long strap, so you can carry one almost like a handbag.
- Cheap camping chairs. Plenty of students have used simple, inexpensive camping chairs. Anything that folds down easily, is light to carry and pops up and down quickly on location will do the job.
- A small pop-up table. Margaret C brings one like this with her. Sometimes it holds her palette. In Cheshire she sketched with her sketchbook on her lap and her pre-sketch on the table, so she could follow both the pre-sketch and the scene in front of her.
A few more seating tips from students:
- Your stool can be a table too. On the Bath retreat, Vicky H ended up sitting on the grass and using her stool as a table, and wished she’d thought of it sooner.
- Easel or stool? Stephanie D took a field easel out for the first time and found she had to choose between carrying that or a stool. Worth thinking about before you set off.
- Bring a cushion. Debbie M has made a note to pack a small cushion next time for sitting on rocks and walls.
Most of these seating tips were learned the practical way, on our sketching retreats. If you’d like to try your kit out on location with Ian and a group of fellow sketchers, that’s the place to do it.
Paints
One upgrade story comes up again and again: moving from student-grade to professional paint. Patty E, Simon C and Alison G all found the colours much brighter, and said it works out cheaper in the long run because you use less.
"What a difference the professional paints make."
– Student Asmita K
The most popular way to make the switch is to fill empty half pans from tubes, one colour at a time. Suzanne S still uses her original travel set, refilling it from tubes as each colour runs out. Amanda O, Karen B and Yvonne R all do the same.
Beyond Winsor & Newton, students mention Daniel Smith, Schmincke (which Karen B says “last ages”), Sennelier, Daler Rowney, Roman Szmal and a few smaller artisan makers.
A few small habits help too. Janet D uses disposable palettes to skip the washing up, Alison G mixes on a china plate, and Patricia F keeps a second empty palette for extra colours as she needs them.
Keep a little swatch book. On our Cheshire retreat, Karen brought a small book with a swatch of every paint colour she owns. It’s a lovely way to see exactly what each colour does before it goes anywhere near your sketch.
Brushes
The rigger is the brush students most often say they wish they’d tried sooner. Vicki T had never used one before the course, and now it’s her favourite. Carolyn NL and Suzanne M both found the acrylic rigger Ian uses gave them much more control.
"Definitely made a difference in my trees and lamp posts."
– Student Suzanne M
Debbie M also rates the Scharff Supreme Script brush, which she says holds a lot of paint and keeps a very fine point. And if your rigger arrives with a long handle, Nancy C simply cut hers down. Her verdict: “Heresy!!!”
One thing students have learned the hard way: very cheap brushes advertised as sable don’t always live up to it. A few students found they lost their point and shed hairs after a few washes, so it’s worth reading reviews first.
Pens: what students use alongside Ian's list
The most common question is whether you can use a different fineliner from the one on Ian’s list. The group’s answer is mostly yes. Patricia F, Scott P and Beth W all use Microns happily, as long as they’re waterproof. Suzanne S prefers Staedtler, which she finds sturdier.
Fountain pens have a small but very keen fan club. Simon H calls his Lamy Safari “a fabulous tool”, and Yvonne R loves being able to switch between water-soluble and permanent ink.
Two more pen tips:
- Test on damp paper. Sue M found that pens that pass the waterproof test on dry paper can still smear when the paper is a little damp. Worth checking before you paint over a drawing you love.
- White for highlights. Pat S uses a white chalk marker, and Joy R and Kalli A use a white gel pen for highlights and sparkle.
Brush pen tips from students
Tombows get talked about a lot in the group, and students have picked up some useful habits along the way.
- Stock up on the greys you use most. Lerie L does most of her tone work with N15, N89 and N95, and finds they don’t last long. The same goes for 0.1 fineliners.
- Try blending pairs. Lerie L blends N60 with N95, and N79 with N89, to get smoother transitions.
- Too dark to start with? Steph C found the N15 a bit daunting, so she uses the slightly lighter N35 or N45 instead.
- Smooth paper helps. Cheryl M and others find brush pens don’t work well on rough cold press, and hot press gives much better results.
Where students shop
Where to buy things is one of the most common questions in the group, and the answer depends on where you live. UK students mention Jackson’s Art, Cult Pens and Cass Art, and keep an eye on Hobbycraft for multi-buy offers. In the US and Canada, Jackson’s now has its own local sites, and students also use Blick, Jerry’s Artarama, DeSerres and Hobby Lobby sales. In Australia, Spotlight comes up. None of these are recommendations from us, just where students have had luck.
One tip from the group: if you can’t find a specific paper locally, ask in the PLUS group. Someone in your country has usually already tracked it down.
Ready to learn more?
Everything in this post came from students helping each other out. Someone asks a question, and people who’ve been there answer it, honestly and in detail.
That’s what the Urban Sketch PLUS group is like every week. Kit chats sit alongside sketches, critiques and plenty of encouragement, and there’s always someone who’s already tried the thing you’re wondering about.
If you’ve got a kit tip of your own, or you’re stuck choosing between two papers, come and join us. We’d love to hear what’s in your bag.
What’s in Our Students’ Bags: Sketching Kit Tips from the PLUS Community


About the Artist
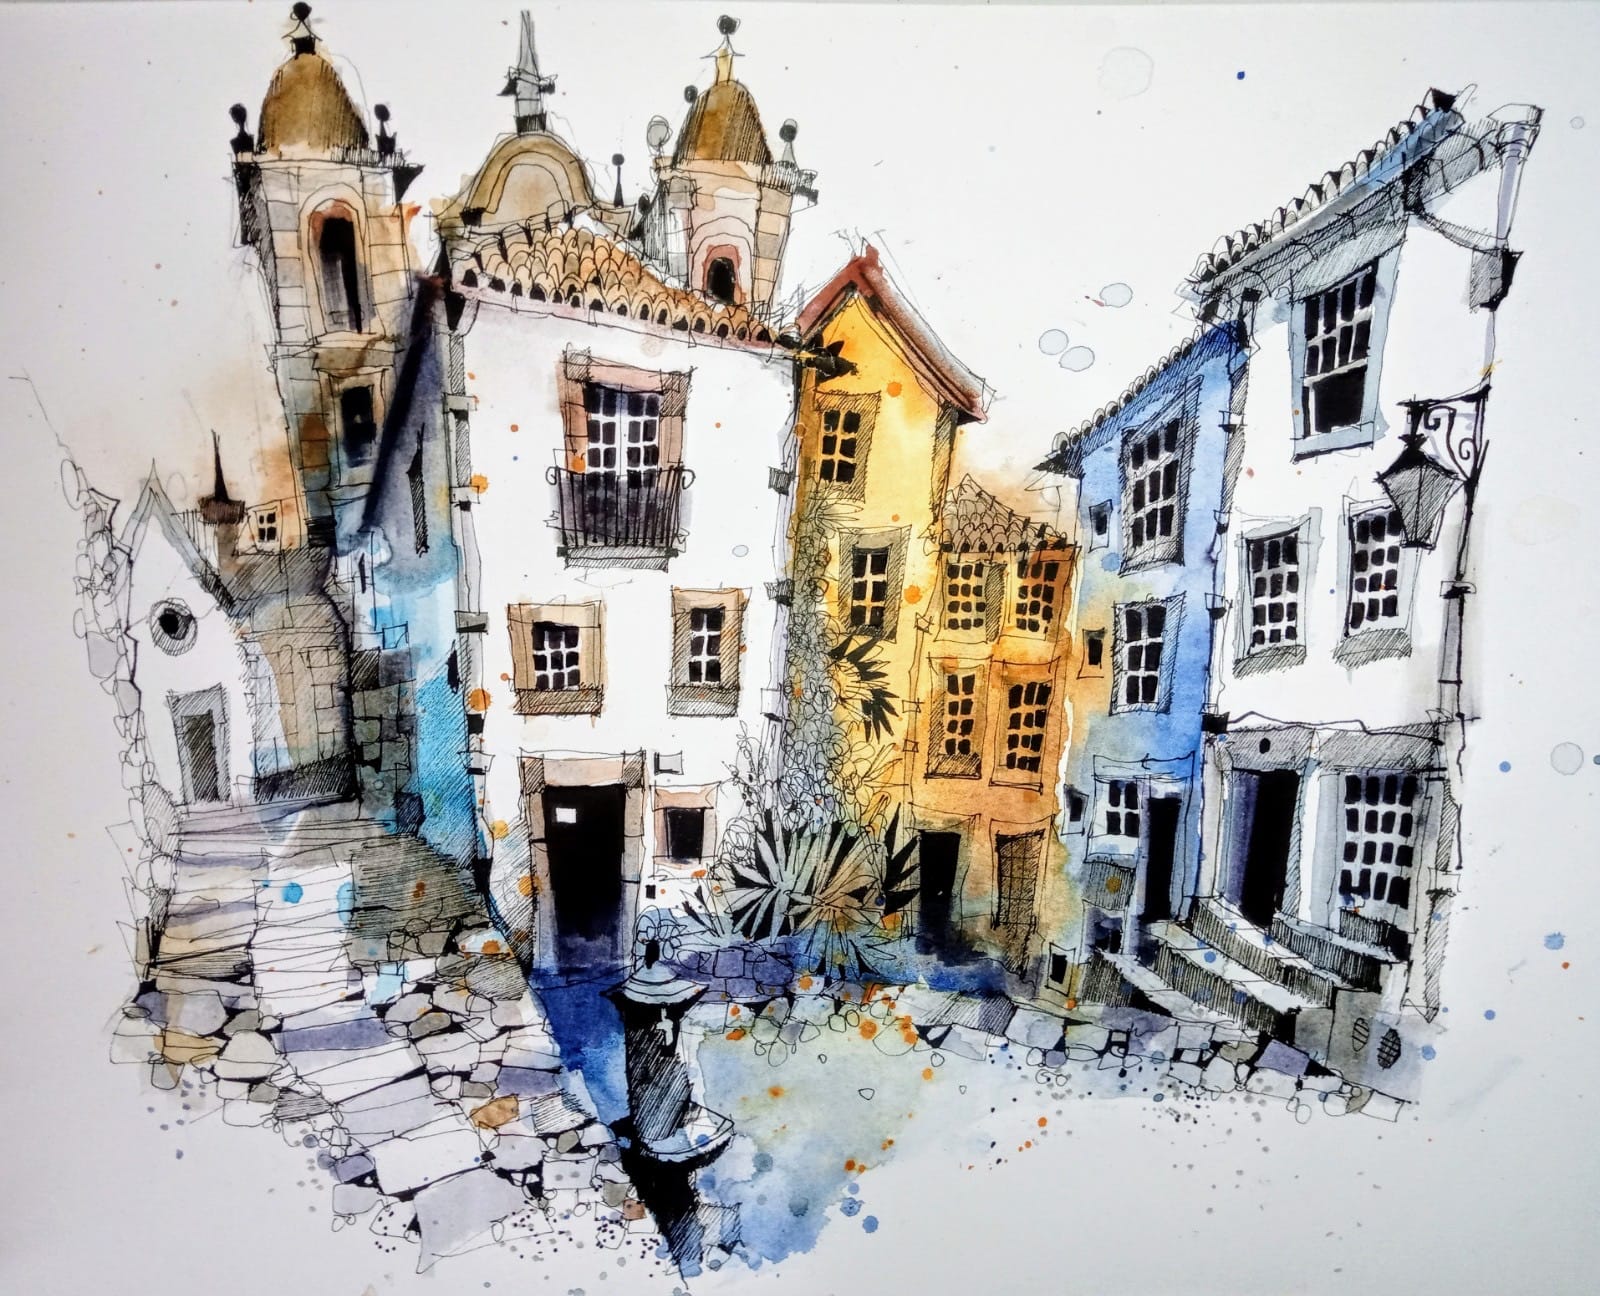
Ian Fennelly focuses on capturing urban spaces and environments by drawing the places where people have been without actually including them.
His process involves layering watercolors, brush pens, and liners to build depth, texture, and detail, allowing them to fully immerse in the scene while adapting to changes in their surroundings.
About Urban Sketch Course
- More Blog Posts -
- 35 mins
- 33 mins

- 10 mins
- 21 mins