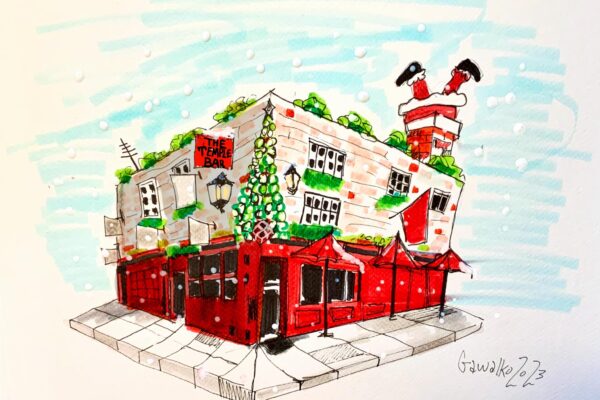
The Critical Stage: Adding Detail Without Overworking
Detail is where your sketch either comes together or starts to feel overworked. One mark too many and it turns muddy; too few and it feels unfinished. Standing at that crossroads, pen in hand, which path do you take? This is the moment for detail – the final touches that can lift your work to life or push it too far. So which tools do you reach for, and how do you know when to stop?
In urban sketching, the detail stage is the bridge between a good sketch and a compelling one. It’s where observation sharpens, where you start capturing not just shapes and tones but textures, quirks, and the visual accents that tell the story of a place. Unlike the earlier stages of composition, colour, and tone, detail is deeply personal. It’s where your hand, your style, and your decision-making become most visible.
Think of it as seasoning food: a pinch of this, a dash of that. Too much overwhelms the dish, too little and it feels flat. In sketching, that balance is achieved through a careful mix of techniques – each chosen deliberately to enhance the narrative, not just fill space.
Why Detail Work Matters in Urban Sketching
The detail stage isn’t about decoration – it’s about storytelling. When you’re sketching on location, surrounded by the sounds, smells, and textures of the scene, detail work is your way of holding onto those impressions. It could be the way bricks lean slightly out of line, the hand-painted café sign with chipped paint, or the tangle of ivy climbing a wall.
Good detail work helps the viewer feel the place you sketched. This is why observation skills are so critical – you’re not just looking for “things” to draw, but for moments in the scene that speak to its personality. Sometimes, the best storytelling detail isn’t in the main subject at all. It could be the shadow cast by a lamppost or the pattern of worn stone on a doorstep.
The beauty of detail is also in its variety. By learning and practising different methods, you’ll have a toolkit you can reach into depending on what your sketch needs – whether that’s the depth of hatching, the simplicity of negative space, or the looseness of a continuous line. This variety is also what makes enhanced learning possible; the more techniques you explore, the better your decision-making becomes in real time.

Hatching for Tone and Texture
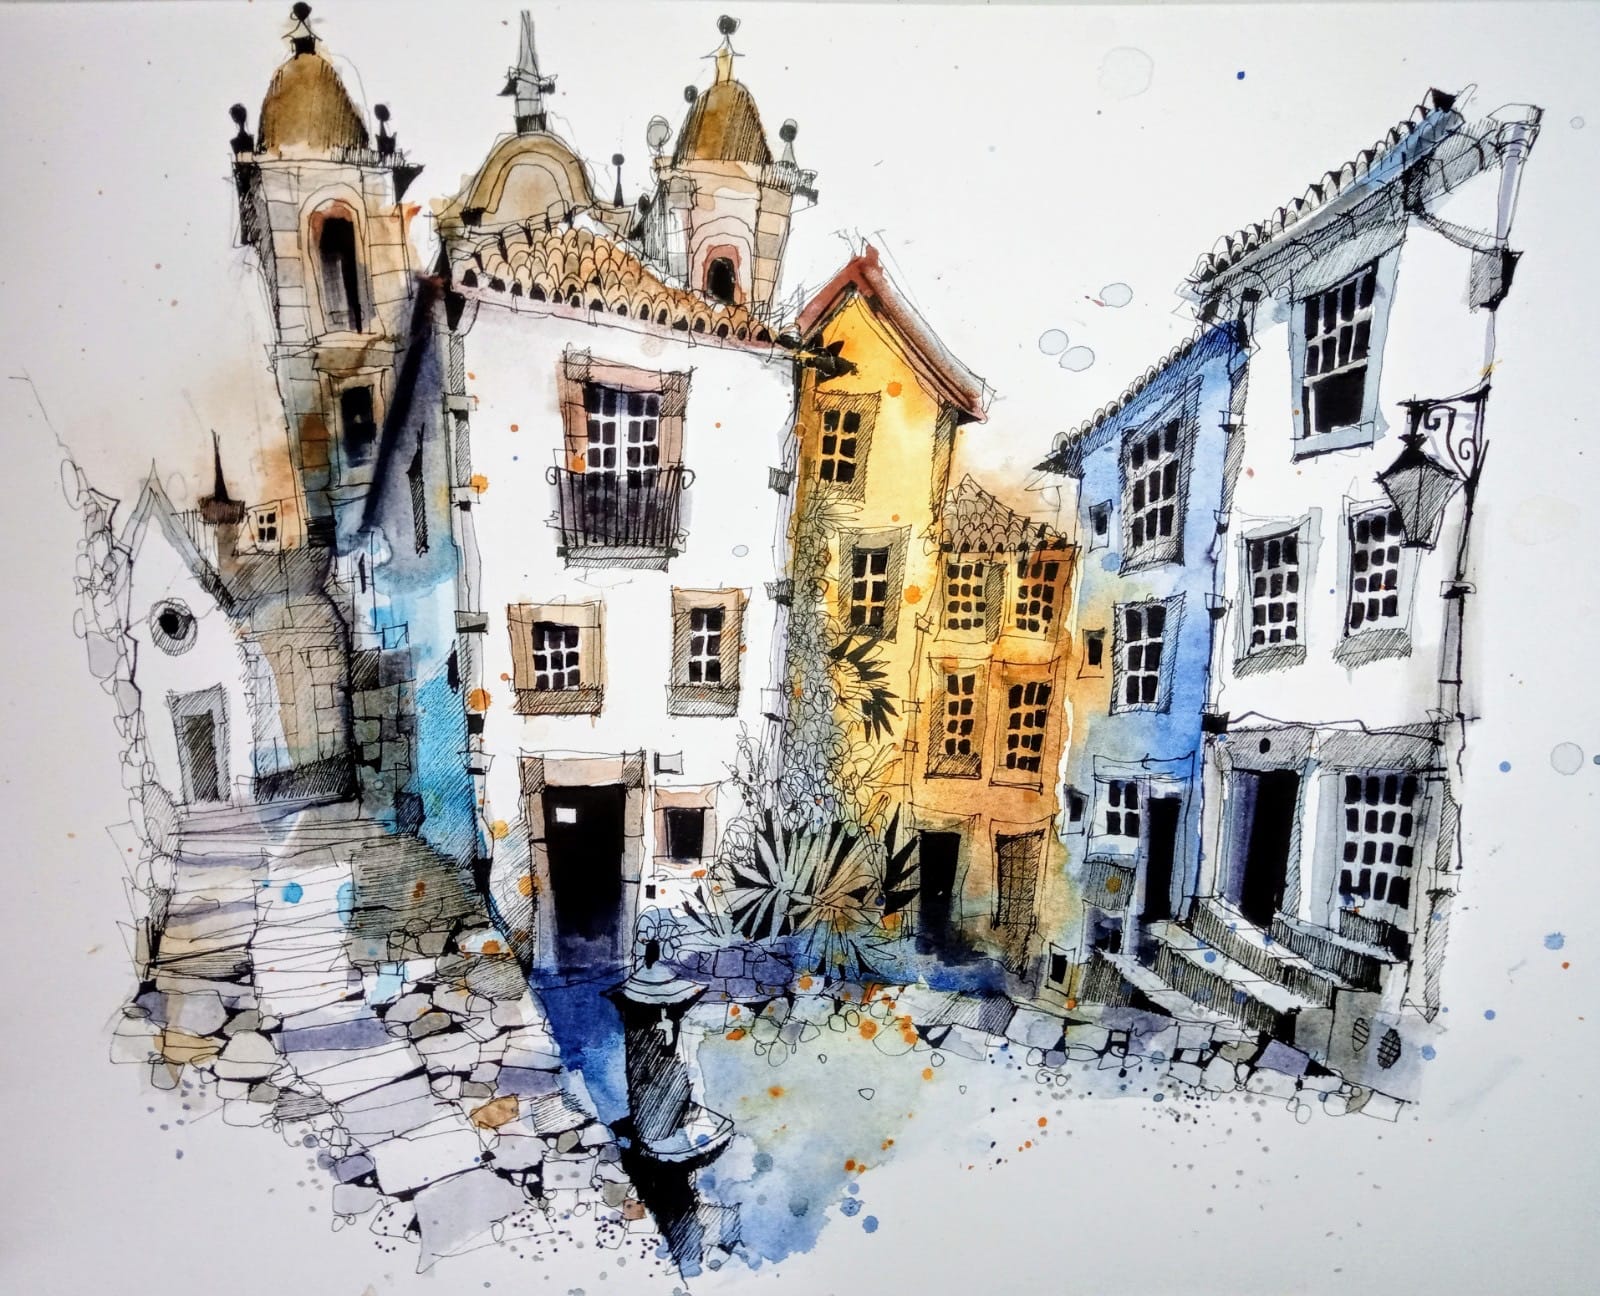
Hatching is one of the most versatile detail techniques in urban sketching. It’s simple to learn but endlessly adaptable. At its core, hatching involves drawing quick, parallel lines to create tonal variation, texture, and direction.
A 0.1 fineliner will give you a soft, subtle effect – perfect for gentle shadows or fine textures like roof tiles. A 0.3 pen delivers a stronger, more deliberate mark that can define edges or emphasise depth, such as the vertical rise of a kerb or the dark sweep under a window ledge.
You can vary the effect through spacing, direction, and pressure. Diagonal hatching works beautifully for sloping roofs; vertical lines can describe steps or the bark of a tree; cross-hatching – layering lines at different angles – creates richer, darker tones.
The secret is to practise away from your main sketch. Keep a scrap piece of paper nearby and test your line weight, pressure, and spacing before committing. This is where mindfulness comes in – the act of focusing solely on the rhythm and direction of your marks can be surprisingly calming, especially when sketching outdoors in the bustle of a city.

“What we’re trying to do in a pre-sketch is simplify it, so that when we do the workshop piece, I know exactly the route that we’re going to take. Where we’re not over-layering everything, and making it too complicated, we’re just letting things go and really capturing the essence of the scene.”
– Ian Fennelly
Using Negative Space for Definition
Negative space is a game-changer in detail work. Instead of drawing the object, you draw the space around or between it. This might be the dark gaps between window frames, the black shapes between leaves, or the shadows between spokes on a bicycle wheel.
By defining the shapes around your subject, the subject itself pops forward on the page. This technique is especially effective for intricate subjects where direct drawing might result in clutter. It’s also an exercise in observation – you’re training yourself to see shapes and relationships rather than just “things.”
Negative space can also contribute to storytelling. For example, dark shapes between ivy leaves hint at dense growth without having to draw every leaf, while the space between slats on a bench can suggest its texture and age. It’s about inviting the viewer’s imagination to do some of the work – a hallmark of strong sketching.

Taking a Line for a Walk
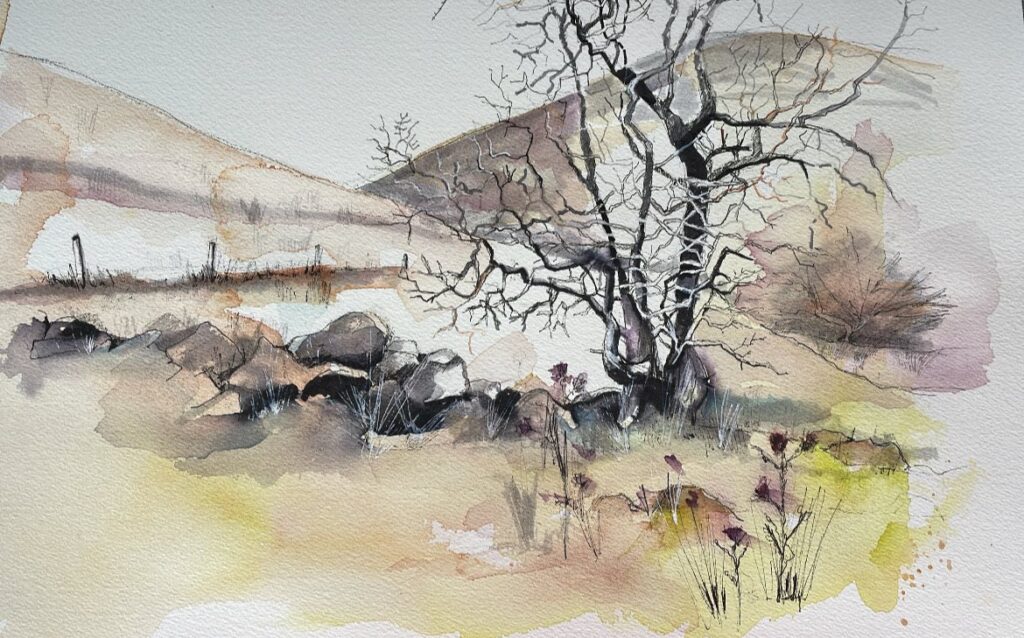
This technique is exactly what it sounds like – you keep your pen on the page and wander. It’s brilliant for capturing organic forms like branches, tangled foliage, or the uneven texture of a stone wall.
“Taking a line for a walk” isn’t about accuracy; it’s about fluidity and connection. It encourages you to move your hand in response to what you’re seeing, without overthinking. This kind of drawing improves hand-eye coordination and keeps your sketch feeling alive rather than rigid.
From a mindfulness perspective, this technique is particularly rewarding. It forces you to slow down, breathe, and simply follow where your pen leads. When done in a community sketching session, it can also be a conversation starter – people often recognise and respond to this loose, expressive style.
Pops of Black for Depth
Strategically placing bold, dark areas in your sketch can instantly add structure and depth. These “pops of black” might be the inside of a doorway, the shadow under a stone step, or the gap between roof tiles.
A dark brush pen – such as the black or deep grey Tombow – is perfect for this. By sinking certain areas back into shadow, you allow lighter elements to step forward, enhancing the three-dimensional feel of the scene.
This is also where location sketching shines. When you’re drawing in person, you can see where shadows are richest and adjust them to suit your composition. On a sunny day, these strong contrasts can become some of the most memorable storytelling elements in your sketch.

Suggesting Texture Without Overworking
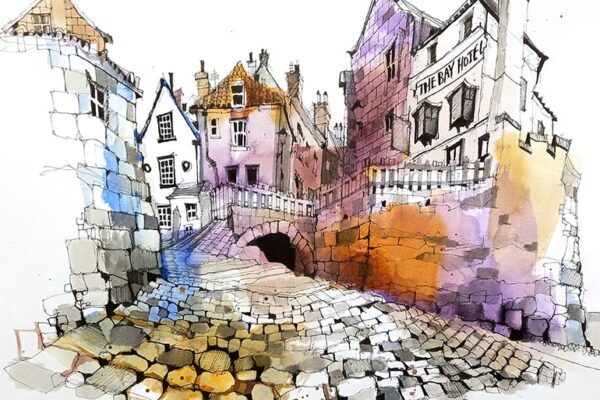
Texture is where many sketchers can get stuck, adding mark after mark until the page feels crowded. The key is suggestion. Instead of drawing every brick, cobblestone, or leaf, hint at them.
A swirl here can suggest cobblestones, a few wobbly lines can stand in for ivy, and a zigzag might hint at wood grain. The human brain fills in the gaps, and the result is often more lively and engaging than drawing every single detail.
This approach is also quicker – important for location sketching where light and shadows can change rapidly. Plus, it’s a technique that thrives in community sketching sessions, where sharing quick impressions often matters more than polished perfection.
Varying Line Thickness for Depth and Focus
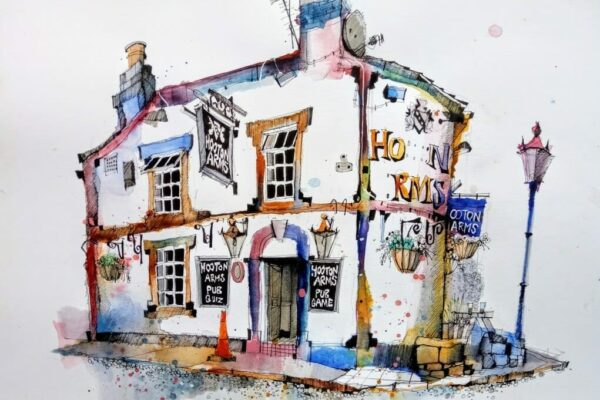
Line weight is a subtle but powerful way to guide the viewer’s eye. Thicker lines tend to pull the subject forward, while finer lines make elements recede. By varying line thickness across the sketch, you can create depth without relying solely on tone or colour.
This can also be used to highlight storytelling elements. For example, you might use a heavier line on a weathered shop sign that’s central to your scene, while keeping the background buildings light and fine. The result is a natural focal point that draws attention to the details you want to emphasise.

Mixing and Matching for Personality
Some of the most engaging detail work comes from combining techniques. A hatched shadow under steps can be paired with negative space between railings. Pops of black can be woven into foliage hinted at with curly lines.
Mixing methods keeps your sketches fresh and adaptable to different locations and conditions. Over time, you’ll develop your own signature combinations – a “detail vocabulary” that reflects your enhanced learning journey. This is also where community input is invaluable; seeing how others blend techniques can spark ideas you wouldn’t have tried alone.
Final Thoughts: Building Your Detail Toolkit
The detail stage is where your sketch becomes most personal. It’s not about adding “more” but making deliberate marks that bring clarity, depth, and character. By practising these techniques – hatching, negative space, continuous line work, pops of black, texture suggestion, varied line weight, and mixing methods – you’ll build confidence and flexibility.
Detail work also deepens your connection to location, enhances your mindfulness while sketching, and strengthens your storytelling. When shared in a community setting, it becomes a way to inspire and learn from others – an ongoing cycle of enhanced learning and creative growth.
So next time you reach the detail stage, pause for a moment. Observe. Decide which tools your sketch needs – and which it doesn’t. In that balance lies the difference between a page that’s “done” and one that’s worth returning to again and again.
Ready to learn more?
If you’d like to explore detail techniques in more depth, our Urban Sketch Plus Membership includes dedicated monthly training modules focused on specific stages of the urban sketching process – including a full breakdown of the detail stage. You’ll get step-by-step demonstrations, practical exercises, and the chance to see how different techniques work together in real sketches. It’s a great way to build your skills and confidence while connecting with a community of sketchers on the same journey.