how to Photograph your Art
improve photos of your artwork with these 4 simple tricks
With the help of smartphones, it’s never been easier to take quick photos and share your artwork with the world. But capturing a great photo that shows off your sketch can sometimes be challenging. We’ve compiled our top 4 simple tricks that will help you to take professional photos at home.
1. Lighting
Lighting can make or break a photo and can be one of the biggest challenges when taking photos at home.
Take advantage of natural light
Daylight can often give the best results for taking photos, both outside and inside the house.
Remember to be wary of shadows, as bright full sun can create harsh shadows so try to take your photos when it’s slightly overcast, as the clouds will act as a diffuser. Clever right?
If you’re taking your photos inside, try and take the photo near to a window and move your artwork around until you find a spot where shadows are even.
Using artificial lighting
Taking photos outside isn’t always practical so you could also use a household lamp to shine some extra light onto your sketches. Depending on the bulb and brightness, the colours may not show up realistically. To manage this, you may need to edit your photo after.
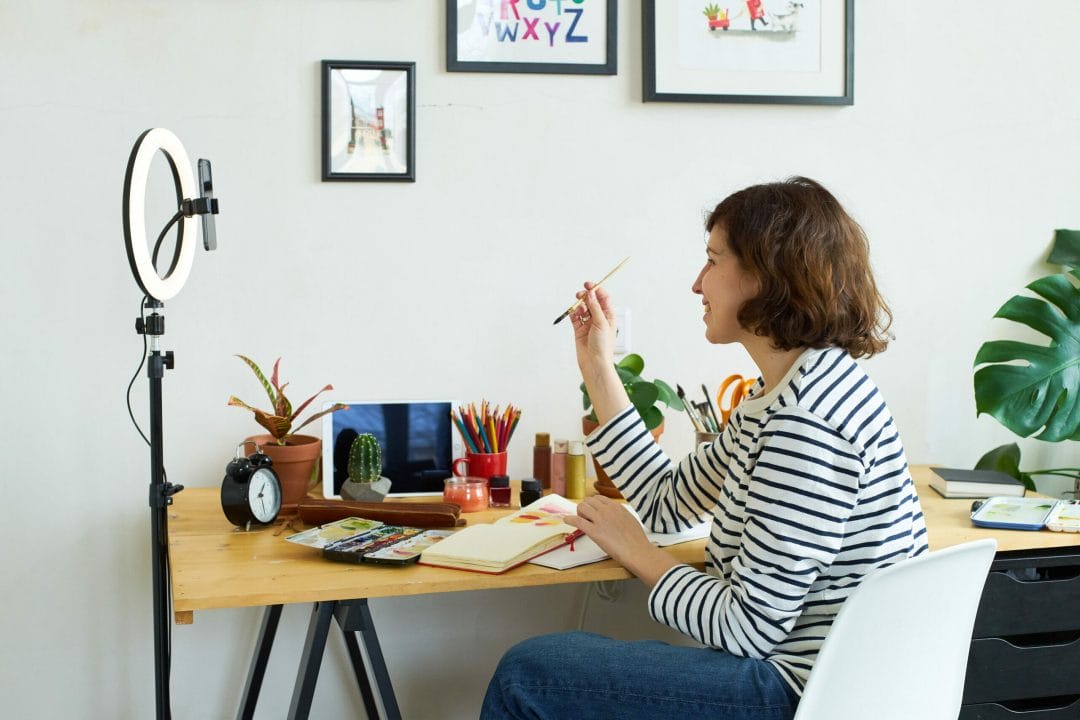
You could also consider buying a light for taking photos. There are some great options out there for content creators including ring lights, tabletop lamps and there are even some that come with tripods!


LIGHT HACK: You can easily hack diffusing light (both natural and artificial) by using a white sheet of paper between the light and your work. This helps to evenly distribute the light.
2. Setting Up
Different types of shots
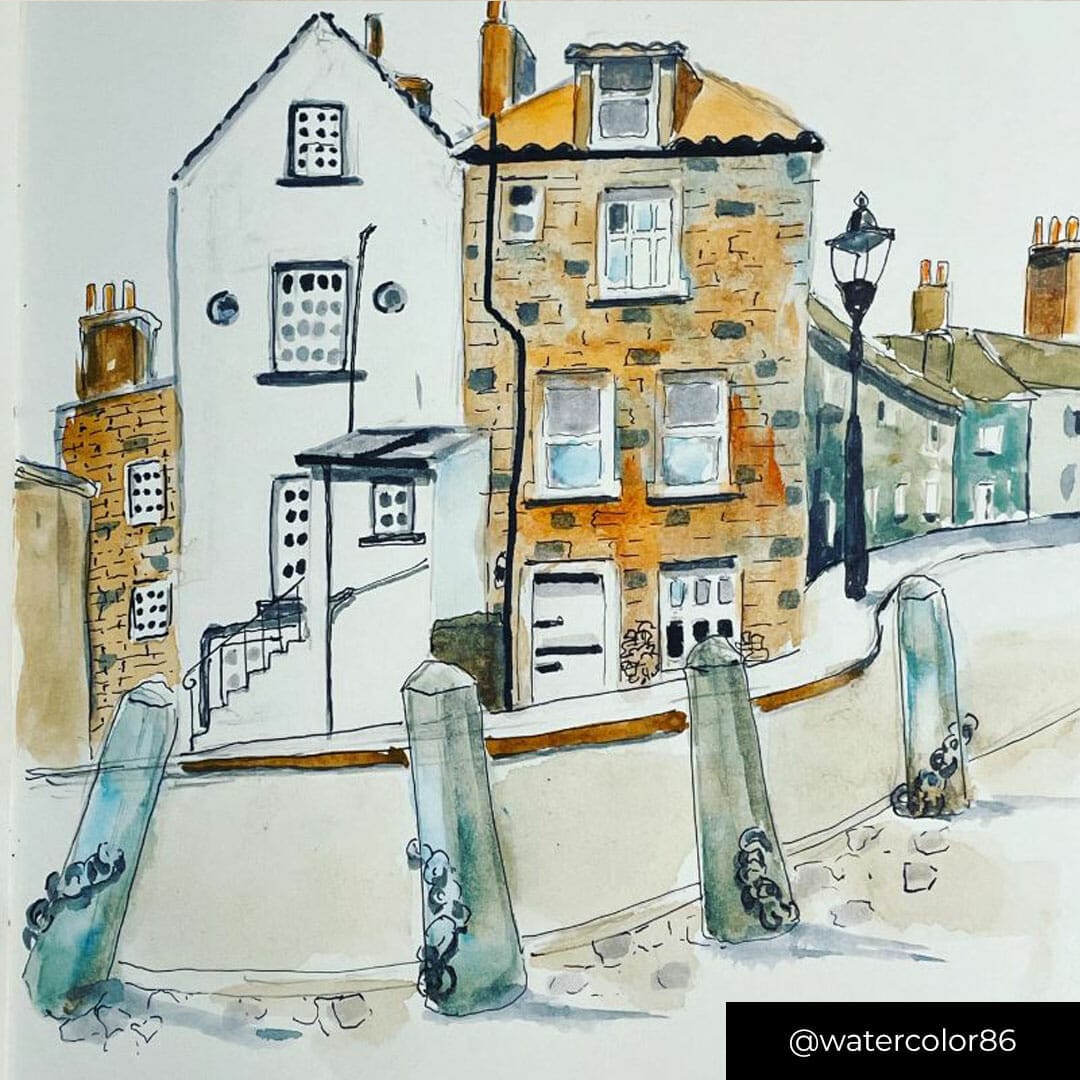
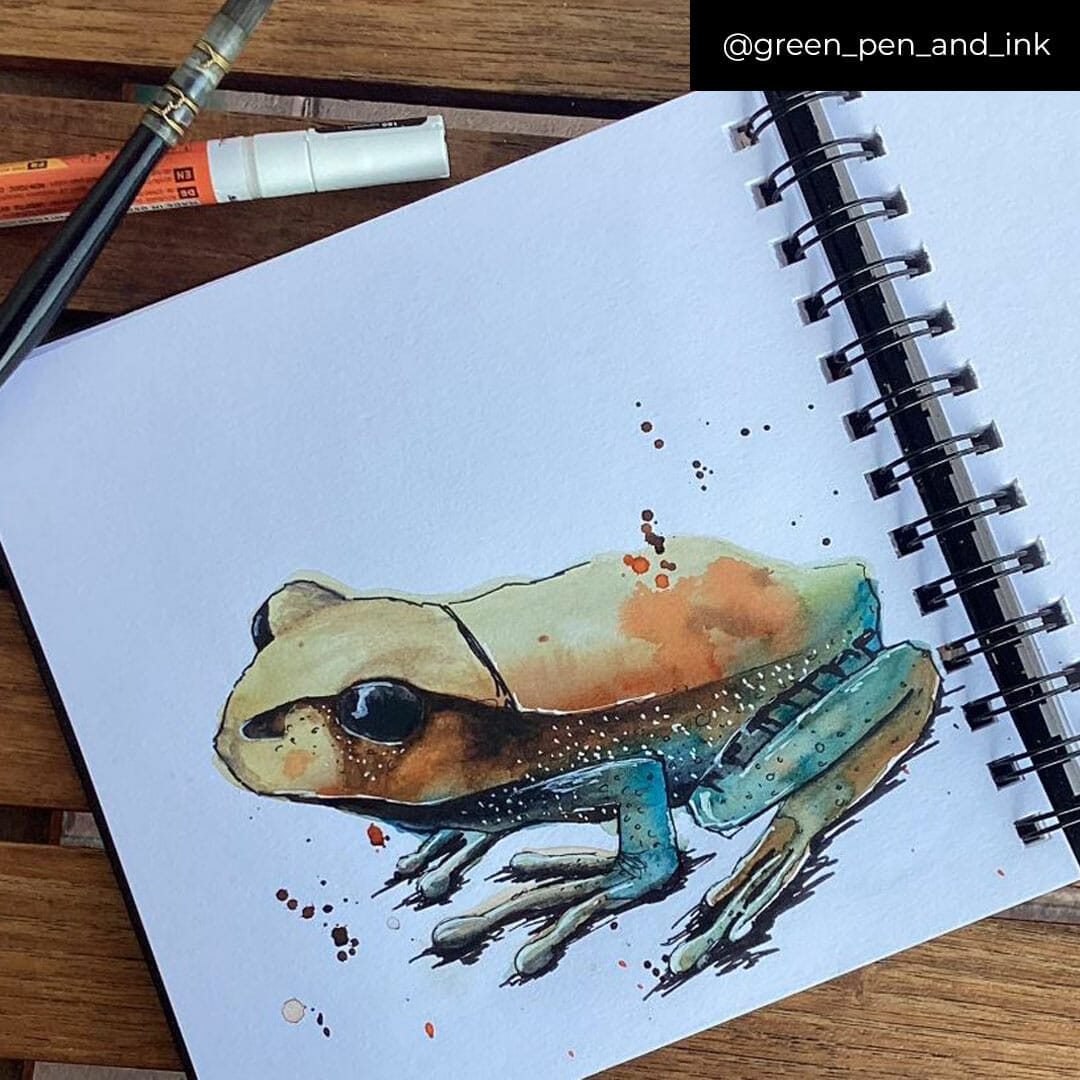
Decide on what type of photo you want to take – you could photograph the sketch alone, with props in a flat lay style photo or you could even include yourself in the photo.
Here are just a few examples from our students:


Preparing your work
To get your artwork ready for shooting, you could lay it flat on a surface, hang it on the wall or prop it up against a wall or object.
Using a phone tripod can help to keep your camera steady and reduce blurriness.
3. Taking the photo
Angles
Choose the orientation of your camera according to your sketch. (Portrait/Landscape)
Try to hold your camera at the same angle as the artwork and see if the edges of the artwork are parallel in the camera frame.
Avoiding Distortion
Sometimes the sketch in your image may look slightly distorted because of the angle and camera lens, so try to plan this into your thinking and work around it.
Take various photos at this stage using a few different angles and try taking a few close to the sketch and a few further away to see what looks best.
SKETCHBOOK HACK: If you’re photographing a sketchbook, try securing the page down using a bulldog or binder clip so that it doesn’t flip up. If you’re using loose paper, you can strap it to a piece of cardboard using some elastic bands.
4. eDITING
Editing your photo can help to remove excess space and sharpen up the colour and brightness. There are many ways to edit, but most phones come with an inbuilt editing programme.
Editing Basics
These are the tools that will help most when editing your photos:
- Cropping
- Adjusting the contrast and brightness
- Removing Impurities
- Reducing image dimensions and file size

Sharing your work
Now that you have some wonderful photos, it’s time to share them! Share your art with us by using the #urbansketchcourse hashtag and share your course photos in our student gallery.
Our Courses
Whether you’re brand new to urban sketching or a confident artist, our engaging, video-based online courses teach you step-by-step how to go from blank page, to capturing the bustle and beauty of the world around you, in the unique and fashionable style that is urban sketching.

