
Inside Our Cheshire Villages Retreat
- Blog
- August 14, 2026
- 19 mins
Confidence, Character and Community
Imagine trying to fit a barn that is far too long onto a page that is far too small. That was the daily challenge on the Cheshire retreat: five days, five villages, and a group who flew in from Canada, Australia, the United States and Germany to draw crooked cottages with Ian.
Burton, with its thatched Barn End that used to be a pub called Noah’s Ark. Great Budworth, a huddle of buildings that look, as Karen put it, “like being in Disney World without the rides.” Christleton and its well. Places built long before anyone imagined an urban sketcher would sit across the road and try to fit them on a page.
Here is what the week taught us, and how to bring it home to your own sketchbook.

The pre-sketch does more than you think
Every evening, Ian set the next day’s scene as homework: a quick pre-sketch, five to twenty minutes, no detail, just the big shapes and a little tone. On the retreat live, Claudia summed up why it works.
I didn't worry about detail. I just went, okay, these shapes need to go on there. And it just really gave me confidence on the day.
– Student Claudia S
By the time the group sat down in front of the real thing, half the thinking was already done.
There is a deeper reason Ian sets it before teaching the method. As he put it to the group, he is throwing you in at the deep end on purpose. You have a go, you get some of it wrong, and that “wrong” is still knowledge. So when he then shows you how, it lands, because you have already wrestled with the scene yourself.
There was a running joke about it, too. Ian handed out a sticker for every finished pre-sketch, and, as Birgit put it, it was “like being thrown back into primary school, you couldn’t really chance it to miss out on your sticker.”
One morning he read out a heartfelt little talk about art and meaning, let it settle into a thoughtful silence, and the first thing anyone said was: “Will we get to choose stickers for our homework today?”
The homework got done.
Big Shapes First
The single most repeated lesson of the week: big shapes first, and don’t worry about the little bits. No windows, no window panes, not yet. Just the roofline, the baseline, the main masses.
And almost every scene was too big for the page. A barn too long, a row of eight rooflines all at different heights. Ian’s answer was always to compress, and to break the row into thirds.
Great Budworth, the hardest subject of the week, cracked open the moment he said the word “thirds.” Keep it small, he kept telling everyone, because when you keep it small you can tell a better story. Cram it into the corners and there is nowhere left to go.
Let It Be Wonky
Vera looked at her half-finished cottage and wanted to start again. It was too wide, she said, the lines were wrong, the whole thing was wonky. Ian talked her out of it, and that sketch became one of her best of the week. As Karen found with her own roofline, “in reality it didn’t do that, but doing it that way gives it that.” The wonk is the charm. A crooked cottage drawn crooked has more life than a crooked cottage straightened out.
The same permission runs through everything. Ian changed a listed red door to a dirty brown because it worked better. He straightened a chimney he did not like the shape of and left a TV aerial out because it clashed with a lamp post. You are composing a picture, not surveying a street.
Draw the gap, not the thing
One technique had the whole group talking: drawing the negative space. Faced with an ornate iron railing, most of us would draw fatter, blacker lines. Instead Ian rendered the dark shapes between the railings, so the iron appears without being drawn.
Karen called it “ten times more powerful,” and it turns up everywhere once you see it, in gates, in foliage, in the shadowed gap between two buildings. The pops of pure black, saved for the very end, are what make the rest of the picture sing.
Colour true to the place
The palette stayed small and honest. Brown-red for the old brick, soft blues, greens where they belonged.
Ian laid colour down strong and pushed it around with water rather than mixing a timid, correct wash on the tray. And he kept it true to the feeling of the place.
Somewhere like Tuscany he might go loud and dramatic, feeding off the buzz, but these Cheshire villages are calm and familiar, so the colour stayed true to them.

Trust the process
Here is something worth hearing, especially if your own sketches never seem to turn out like the lovely ones you see online. They don’t come out like that on location either.
Birgit, one of the group, was honest about it afterwards: she is, by her own account, a slow sketcher who rarely finishes a piece on location and goes through the same doubt and insecurity as everyone else. She came home with five sketches, all of them “incomplete and with tons of unresolved bits and parts, yet already showing lots of promise of what they may become.”
Her one piece of advice: trust the process. Don’t despair, keep going, and see where it gets you. When you only ever see the finished version, it is easy to forget it never came without effort.


Sketches By Student Birgit K
In the end, it is about looking
What struck everyone was how much they started to notice.
A group of grown adults, as Vera laughed, sitting on a barn end getting excited about drawing weeds, a crack in a wall, the gravel on the road.
“It’s training you to look,” she said.
That is really what a week like this gives you, and what the courses give you at home: not a style to copy, but a way of seeing, and the confidence to sit down in front of something beautiful and complicated and simply begin.

Ready to learn more?
Over the week the group drew five villages. Two of them, Burton and Great Budworth, are in Ian’s Five Villages course, along with three more, so you can sketch the very same scenes at home, cottage by crooked cottage, one step at a time. If the villages have caught you, that is a lovely place to begin.
Inside Our Cheshire Villages Retreat


About the Artist
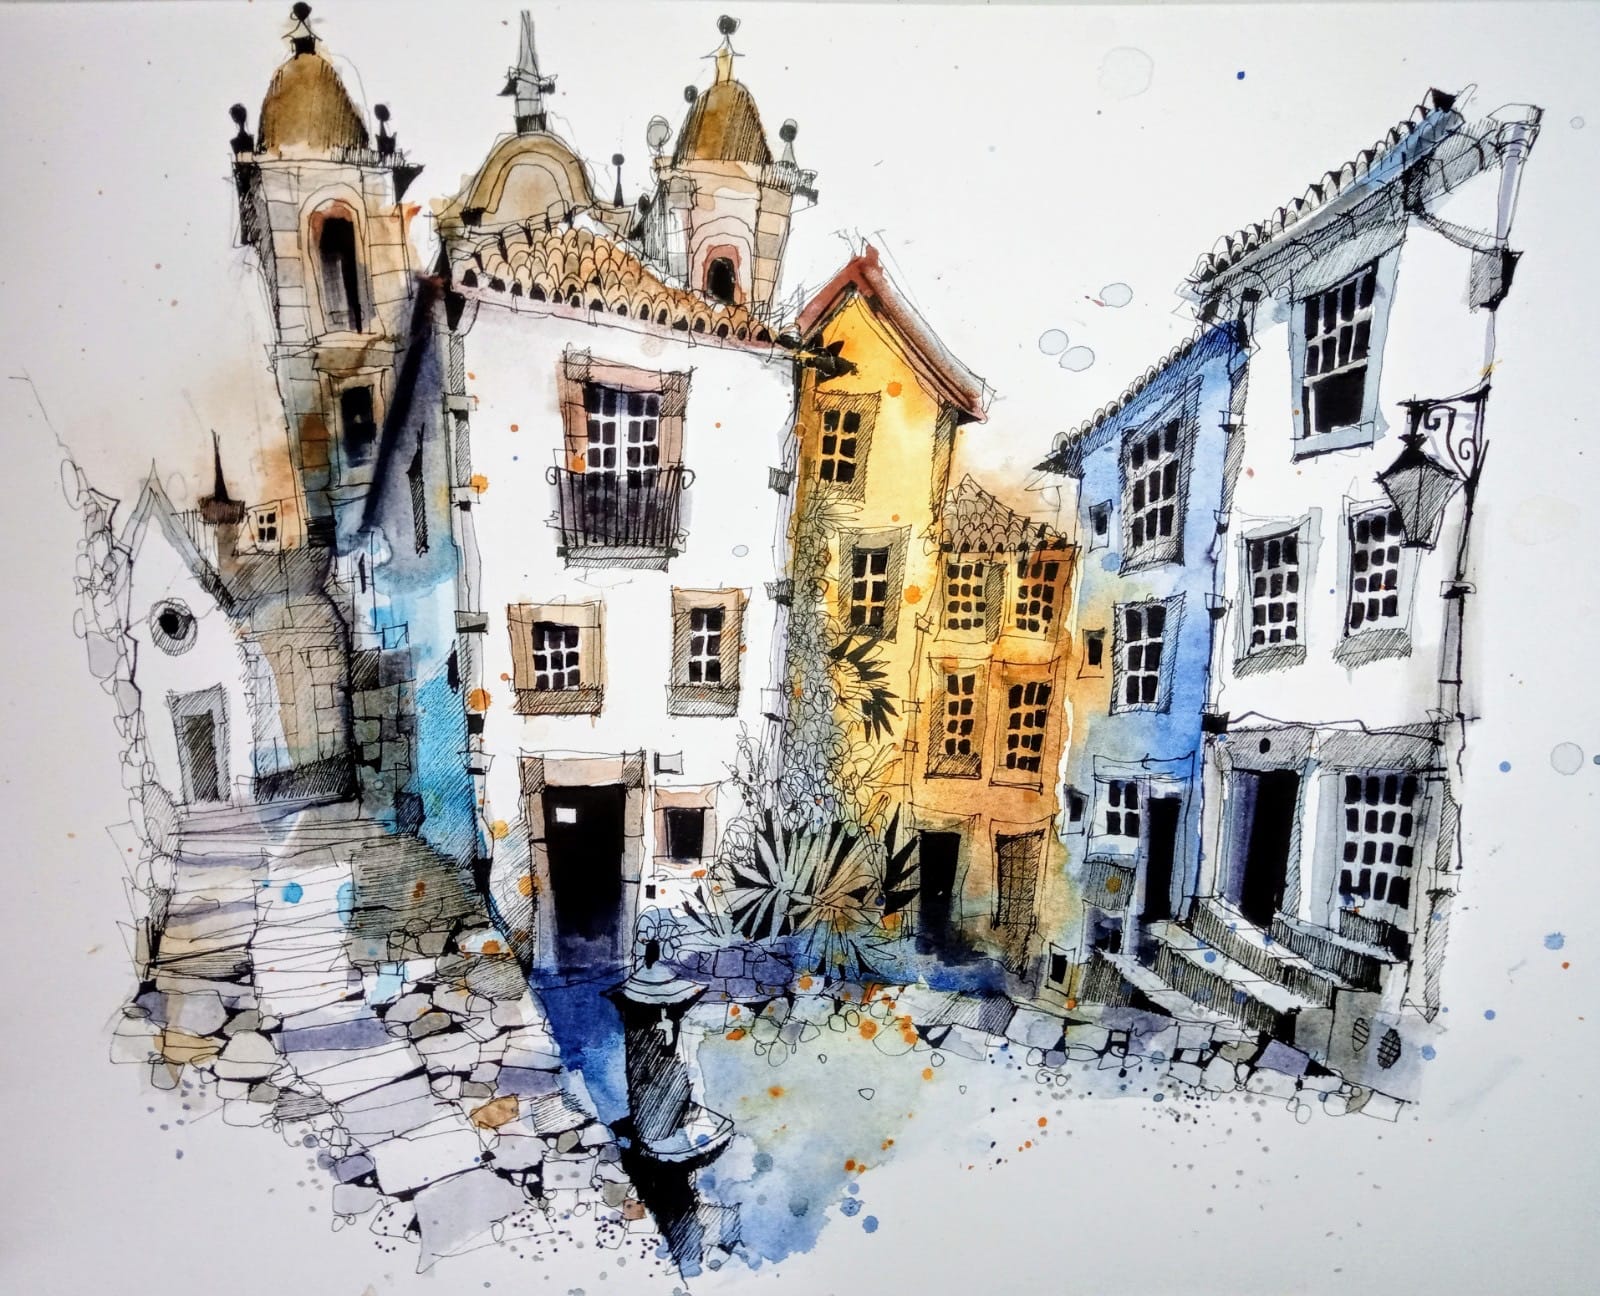
Ian Fennelly focuses on capturing urban spaces and environments by drawing the places where people have been without actually including them.
His process involves layering watercolors, brush pens, and liners to build depth, texture, and detail, allowing them to fully immerse in the scene while adapting to changes in their surroundings.

About Urban Sketch Course
- More Blog Posts -

- 15 mins

- 17 mins
- 28 mins
- 12 mins
