
How to Sketch an Old Street That Leans
- Blog
- October 10, 2026
- 19 mins
Walk down the Shambles in York and look up. The top floors on either side lean so far out over the street that they nearly meet in the middle.
The street was rebuilt in 1400, and it’s been moving ever since. The road has a curve in it, the upper floors hang out over your head and the beams have sagged. It’s everything that makes an old street tricky to draw, and it’s also everything that makes it worth drawing.
You don’t need to be in York for any of this. Most towns have a street where nothing is square any more. This is about what to do when you sit down in front of one.

Start with the ground
It’s tempting to start with the buildings. Start with the road instead, because everything you draw afterwards is standing on it.
An old road isn’t flat. It’s higher down the middle and slopes away to both edges. That’s the camber, and it’s there so the rain runs off. Ian points it out while he’s working:
"You've got a camber as well, where the water runs off, and the stones go off in a different direction at the bottom, and you've got the thickness of the kerb as well."
– Ian Fennelly
So the road isn’t one flat surface. It’s two, meeting in the middle. Ian spots the angle shifting while he’s putting the cobbles in:
"As it goes further over, it's getting further away from your position, so the angle is changing."
– Ian Fennelly
Before you draw a single wall, work out which way the ground goes. Put in the kerb line, the curve across the road and the point where the surface tips away. It takes a couple of minutes, and it stops the buildings looking like they’re floating.
Then look up
On a medieval street, each floor sticks out further than the one below it. Walking down the Shambles, Ian points the camera straight up:
"Check out the overhang on that. See how all the elevations, as the floors go up, they all stick further and further out. So those two buildings at the top are practically touching each other. They're only like about three or four feet apart."
– Ian Fennelly
Three or four feet, across a street, at roof level.
Building out like that gave people more room upstairs without paying for more ground. Ian puts it more bluntly while he’s setting up a sketch: it meant people “could chuck all of their garbage out of the window.”
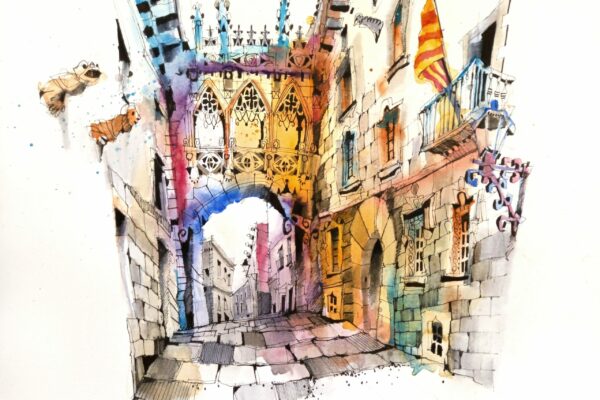
Whatever the reason, it changes how you draw it. Draw those buildings straight up and down and an old street ends up looking like a new one. Let the upper floors come out towards you, over the road, so the gap between the two sides gets narrower as it goes up.
That narrowing gives you depth for free. You don’t need to work it out with vanishing points. You just need to let it happen.
The beams have sagged
Wood moves. Put six hundred years of weight and weather on a timber frame and it gives. Ian, looking along a row of them:
"A lot of the beams obviously over the years have just sunk."
– Ian Fennelly
A sagging beam is one line, and it does more to make a building look old than an hour of careful brickwork. Look for the lines that should be level and aren’t: rooflines, beams, the tops of windows that have dropped at one end. Draw them early, as part of the structure, instead of adding them at the end.
It isn't damage
A crack is damage. A camber, a lean or a sagging beam is just what happens to a street that’s never been rebuilt, and it’s why the Shambles looks like it’s been there since 1400.
It’s the same reason Ian walked away from Barley Hall a restored medieval house in York. Once all of that’s been tidied away, there’s less of a story to draw.
Once you see it that way, you stop fighting it. You stop straightening the lean because it looks like a mistake. You draw it on purpose, and the sketch looks old before you’ve put any colour on.
The order to draw it in
It’s almost the reverse of how most of us start.
- The ground. The camber, the kerb and where the road tips away from you.
- The bottom of each building. Where it meets the ground, which won’t be a straight line either.
- The lean. Take the sides of the street out and up, so the upper floors come towards you and the gap at the top narrows.
- Anything that’s dropped. Rooflines, beams and window tops. Give them their sag.
- Everything else. Windows, doors, signs, and all the bits that make it that street and not another one.
Four of those five are about things that aren’t straight. On an old street, that’s what holds the drawing together.
Try it on your own street
You’ll find smaller versions of all this on almost any older road.
Stand at one end and look at the ground first. Is it cambered? Where does the rain go? Has the kerb dropped somewhere, or been patched? Does the pavement step down every few houses because the ground does?
Then look at the buildings. A bay window bulging out over the pavement is a smaller version of those overhanging floors on the Shambles. A terrace going down a hill has a roofline that steps instead of running straight. A 1930s shopfront under a Victorian upper floor gives you two building lines on one front.
None of it’s as dramatic as the Shambles, but it all works the same way: the ground first, then the lean, then whatever’s dropped.
If perspective puts you off
Most perspective teaching assumes a building was built accurately and your job is to measure it. On an old street, that isn’t true. It wasn’t built to a plan. It was built by different people at different times, and it’s been moving ever since.
So the accurate drawing of that street is the wonky one.
Start with the ground, let the top of the street lean in and give the beams their sag, and the street will look as old on the page as it does in real life
Ready to learn more?
If you’ve never been to York, this is the next best thing. Ian takes you the whole length of the Shambles, reads the plaque at the top, points up at the floors that nearly touch and walks past a very long queue for a shop that sells ghosts.
How to Sketch an Old Street That Leans

About the Artist
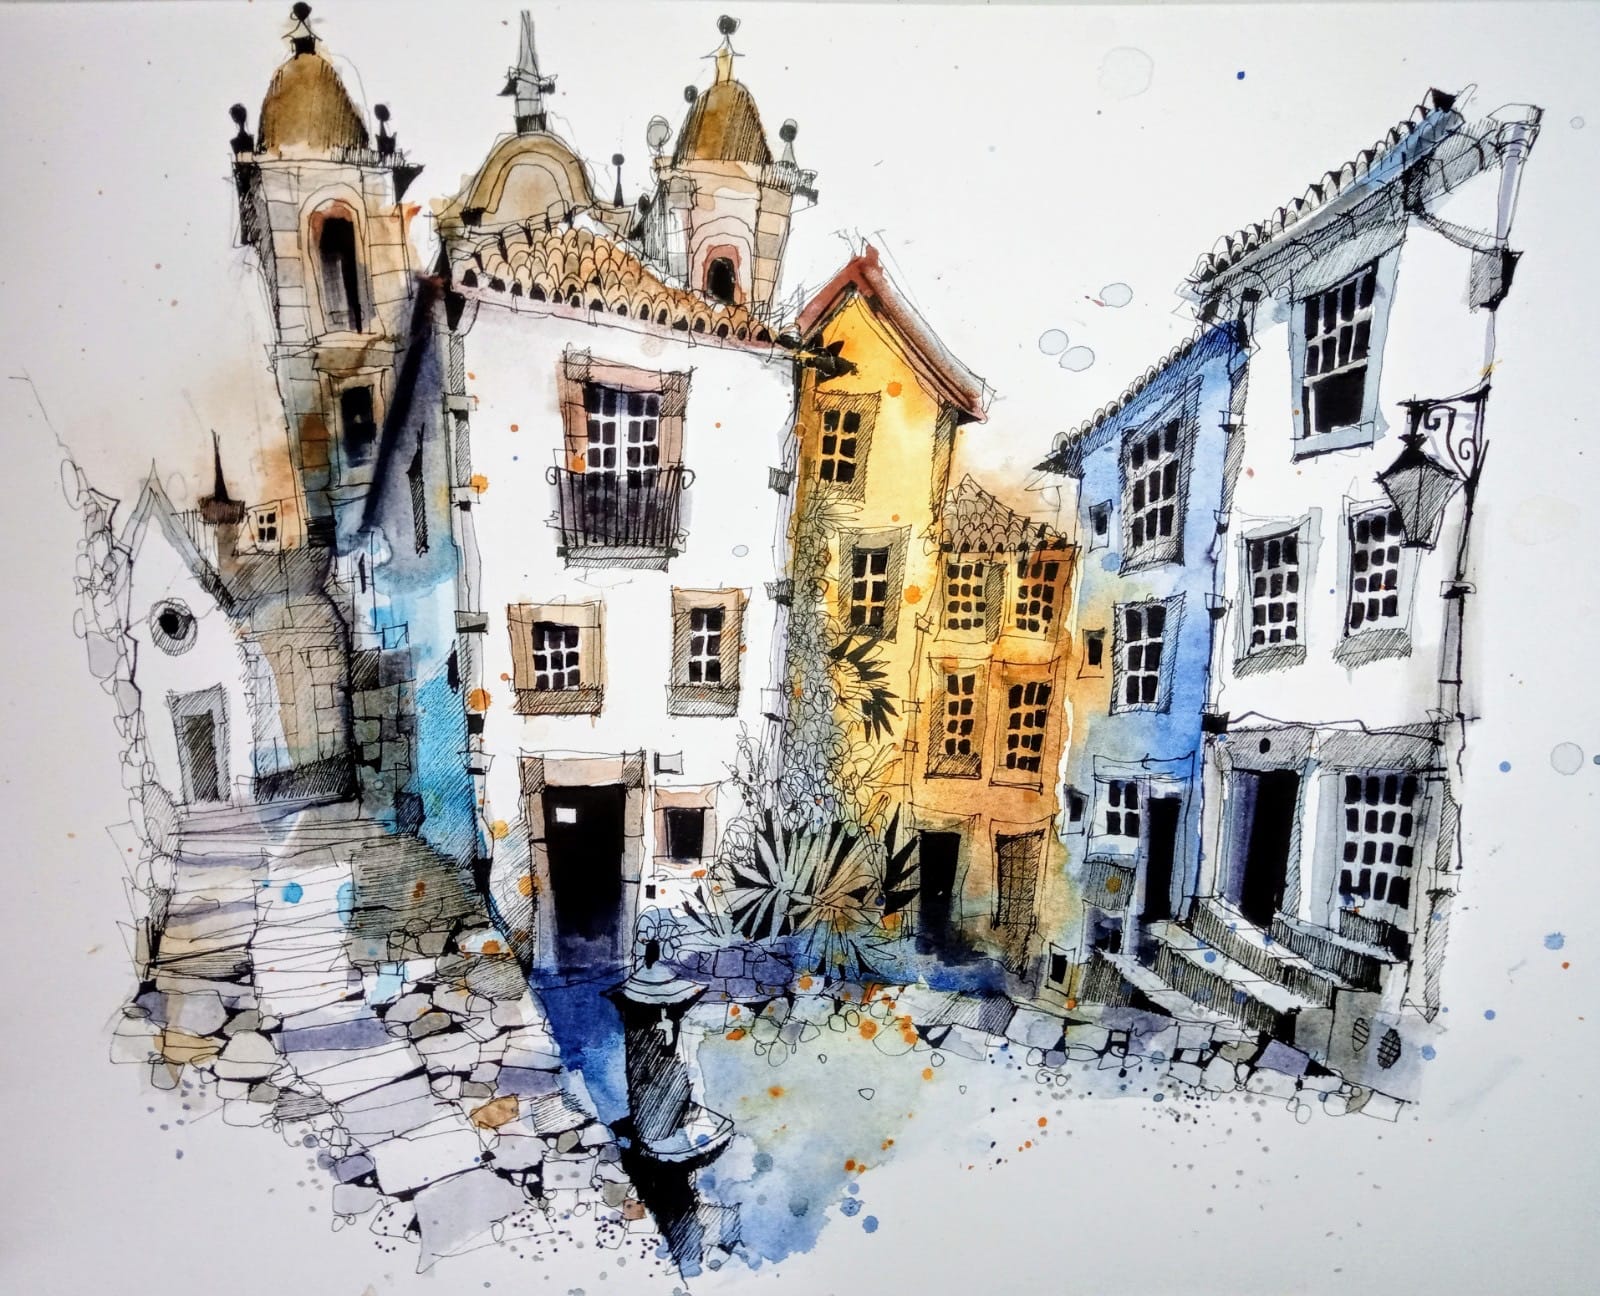
Ian Fennelly focuses on capturing urban spaces and environments by drawing the places where people have been without actually including them.
His process involves layering watercolors, brush pens, and liners to build depth, texture, and detail, allowing them to fully immerse in the scene while adapting to changes in their surroundings.
About Urban Sketch Course
- More Blog Posts -

- 31 mins
- 12 mins

- 28 mins