
How to draw a complicated scene without drowning in the detail
- Blog
- July 17, 2026
- 20 mins
Over a hundred of us were on Zoom together, all looking at the same photograph: a Cinque Terre town in Italy, its buildings stacked up the cliff, every one covered in balconies, shutters and rows of tiny windows. It was week one of our 4 Week Sketching Experience, and you could almost hear the collective “where do I even start?”
That is the trouble with a scene this busy. Your eyes snag on the first window, then the next, and before you have committed a single confident line you already feel behind.
The question that kept coming up in the chat was the one every sketcher eventually asks: how do you stop seeing all the fiddly bits long enough to capture the shape underneath?
It is a good question, and Ian has a clear answer.

The detail is not the enemy. It is just waiting its turn.
Janet, one of our sketchers, said something that stuck with us. She is a retired accountant, precise almost to the point of engineering, and she told us she draws better when she throws that precision out of the window. Carolyn described the whole process like designing a period costume: you build the structure first, then hang the fabric on it. The line work is the structure. Colour, tone and all that lovely detail are the fabric, and they come later.
That is the shift. You are not ignoring the detail. You are putting it in a queue and dealing with the big shapes first.

Grab the shape first, not the windows
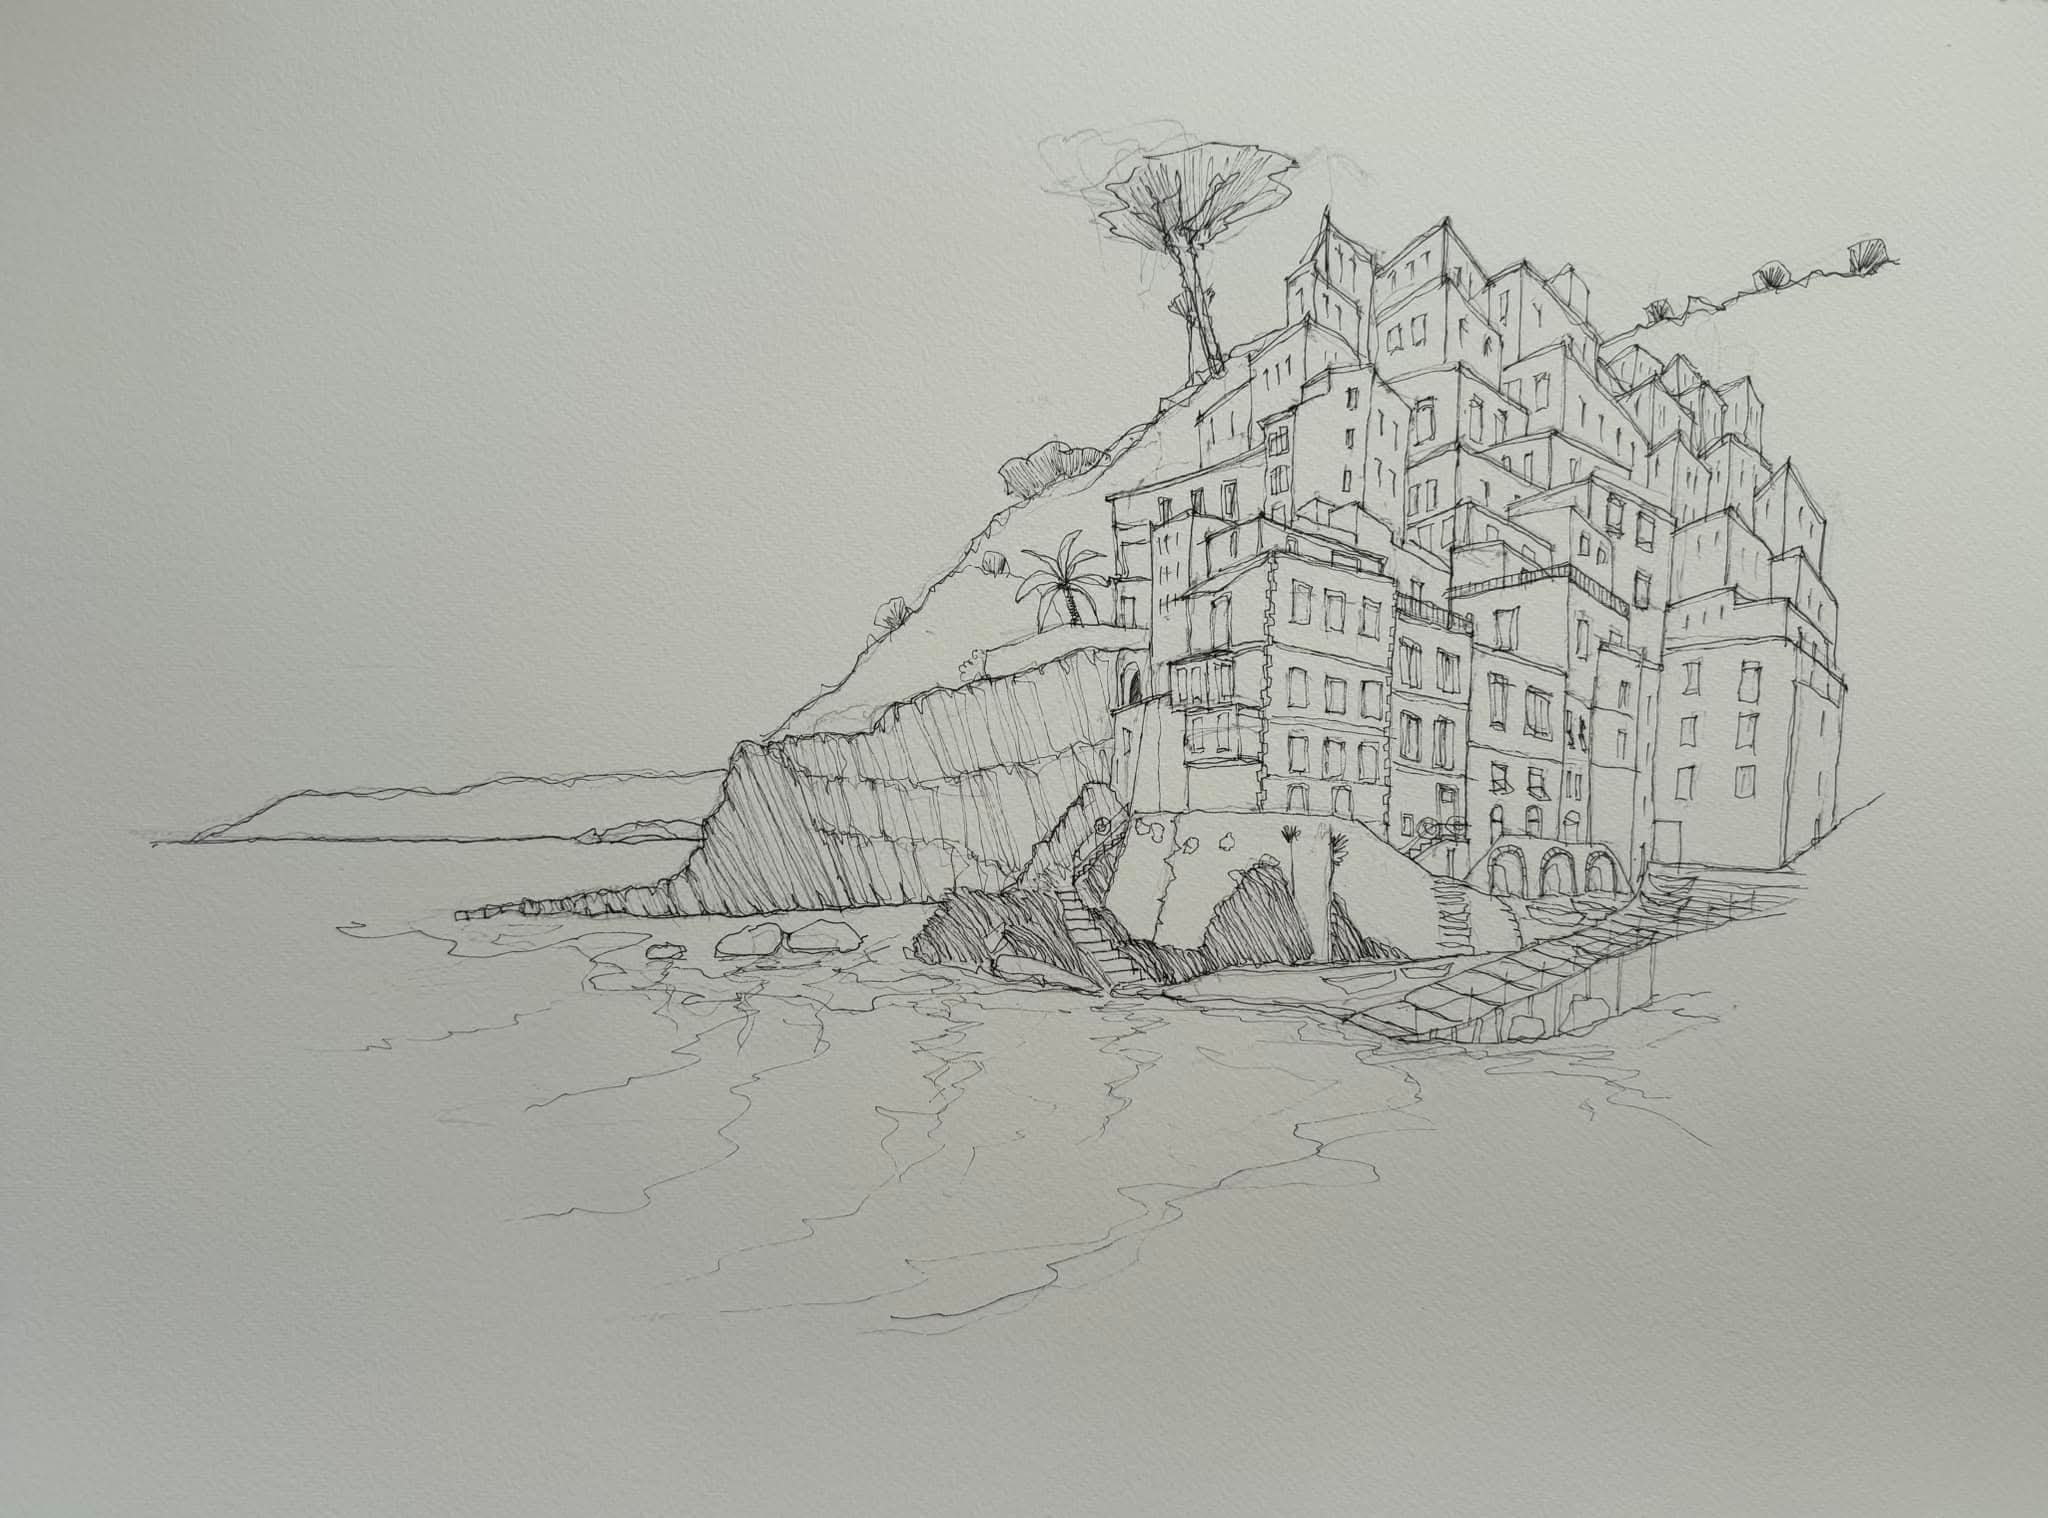
Ian’s advice here is refreshingly blunt. Do not start with the detail. “I wouldn’t recommend that we draw the windows and the doors first,” he says. “I’d recommend we try and grab the outline shape.” Get the shape of the thing down and the fussy stuff has somewhere to live later.
And then simplify hard. “We have to try and simplify it,” Ian says, “really, really simplify it, so it just becomes rectangles, squares, lines, angles.” Draw those big blocks first. It is, as he puts it, a really useful way of not getting too bogged down with too much stuff too soon.
Ian describes this stage as a safety net. “We create a safety net for ourselves,” he says, “so when we start looking deeper into the subject, we know where things go.” Get the big shape right and you always know where you are, however busy the scene becomes.
Start with one building, not the whole outline
Here is the mistake that makes a complex scene feel impossible. You draw the top edge of everything first, the full skyline, and then you spend the rest of the sketch trying to cram all the buildings into a space that was never going to fit them. The photo ends up bossing you around.
Ian does the opposite. On the night, he started with the corner of one building, the deep terracotta house near the middle of the scene. He got its scale right, got its angles right, and then built the whole town outwards from there, going up and up, layer by layer. When a building would not fit, he let it go. Losing a building along the way costs you nothing. Squeezing forty of them into the wrong space costs you the whole sketch.
Pick your one building. Often it is the focal point, the thing your eye lands on first. Get that right and everything else has something to hang off.
Mark the windows, do not draw them
When Ian reached the windows, he kept saying he was not really drawing them. He was marking where they go. Small dashes, small marks, a note to himself about placement rather than a finished feature.
And he kept them small. This matters more than it sounds. A small window can be opened up later, in the colour and detail stages, exactly as much as you want. A window drawn too big at this stage is a headache you carry all the way to the end. Go small now. Grow them later.
Let some of it stay vague
Not everything needs to be sharp. The buildings low down, close to you, can be honest and clear. The ones stacked higher up can be more of an impression, a suggestion of a roofline, a hint of a wall. As Ian says, “do a little suggestion, and the viewer fills in the gaps themselves.” His other way of putting it: “capture the spirit of it without being too literal.” That softness in the background is exactly what makes the front of your sketch feel crisp and deliberate. A scene where everything is equally detailed is a scene with no focal point at all.
(Deciding what to keep and what to leave out is a whole skill in itself. We go deeper into it in [our guide on what to leave out of a sketch — INTERNAL LINK].)
The secret: do it twice
Here is the thing almost everyone who found last week easier had in common. They had done a quick rough version first. A pre-sketch. Nothing precious, just a fast A4 run at the shapes before touching the good paper.
Jarby put it plainly: going through the prep and doing a prelim first made the real thing far less overwhelming. Lina said that having done the pre-sketch, the actual attempt was simply more fun. That is not a coincidence. The first pass is where you make your mistakes and learn the scene. The second is where it starts to sing.
So if a view scares you, draw it once with no expectations. Grab the big shapes, start with one building, keep the windows tiny, leave the rest as a suggestion. Then do it again. Choose your favourite and take that one forward.
Wonky is welcome. The buildings in that Italian town lean all over the place anyway. As Farhana joked, the architects were probably having a glass of wine when they designed them.
And remember there is no single correct version. As Ian says of his own drawings, “these are not the right lines, they’re just my right lines.” Yours will look different, and that is exactly as it should be.
In Short
- Grab the outline shape before any detail.
- Simplify it to rectangles, squares, lines and angles.
- Start with one building and build outwards.
- Keep the windows tiny and grow them later.
- Leave some of the scene as a suggestion, and let the viewer’s eye fill in the rest.
Ready to learn more?
This is the thinking behind Week One of our 4 Week Sketching Experience: Italy, where we take a properly difficult scene and break it into small, doable stages over four weeks. Free inside Urban Sketch PLUS.
How to draw a complicated scene without drowning in the detail


About the Artist
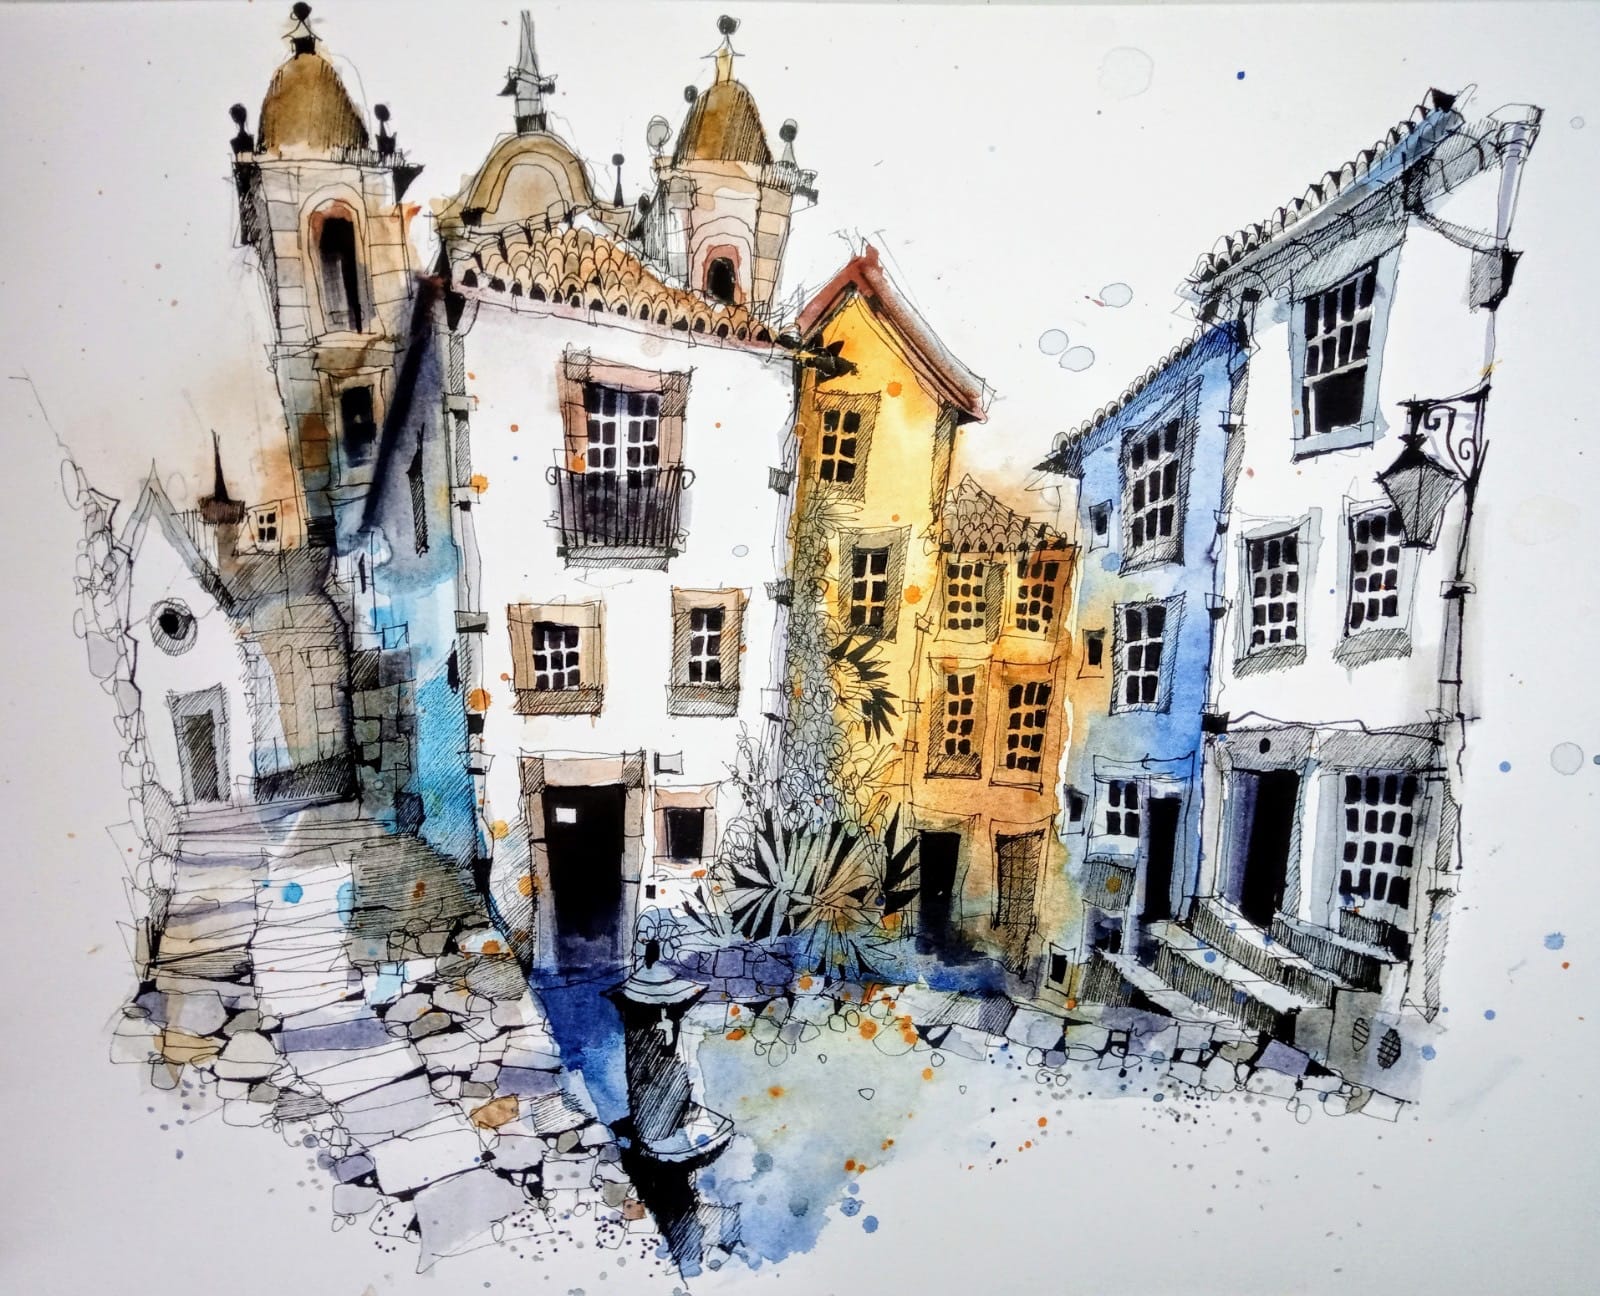
Ian Fennelly focuses on capturing urban spaces and environments by drawing the places where people have been without actually including them.
His process involves layering watercolors, brush pens, and liners to build depth, texture, and detail, allowing them to fully immerse in the scene while adapting to changes in their surroundings.
About Urban Sketch Course
- More Blog Posts -


- 11 mins


- 10 mins